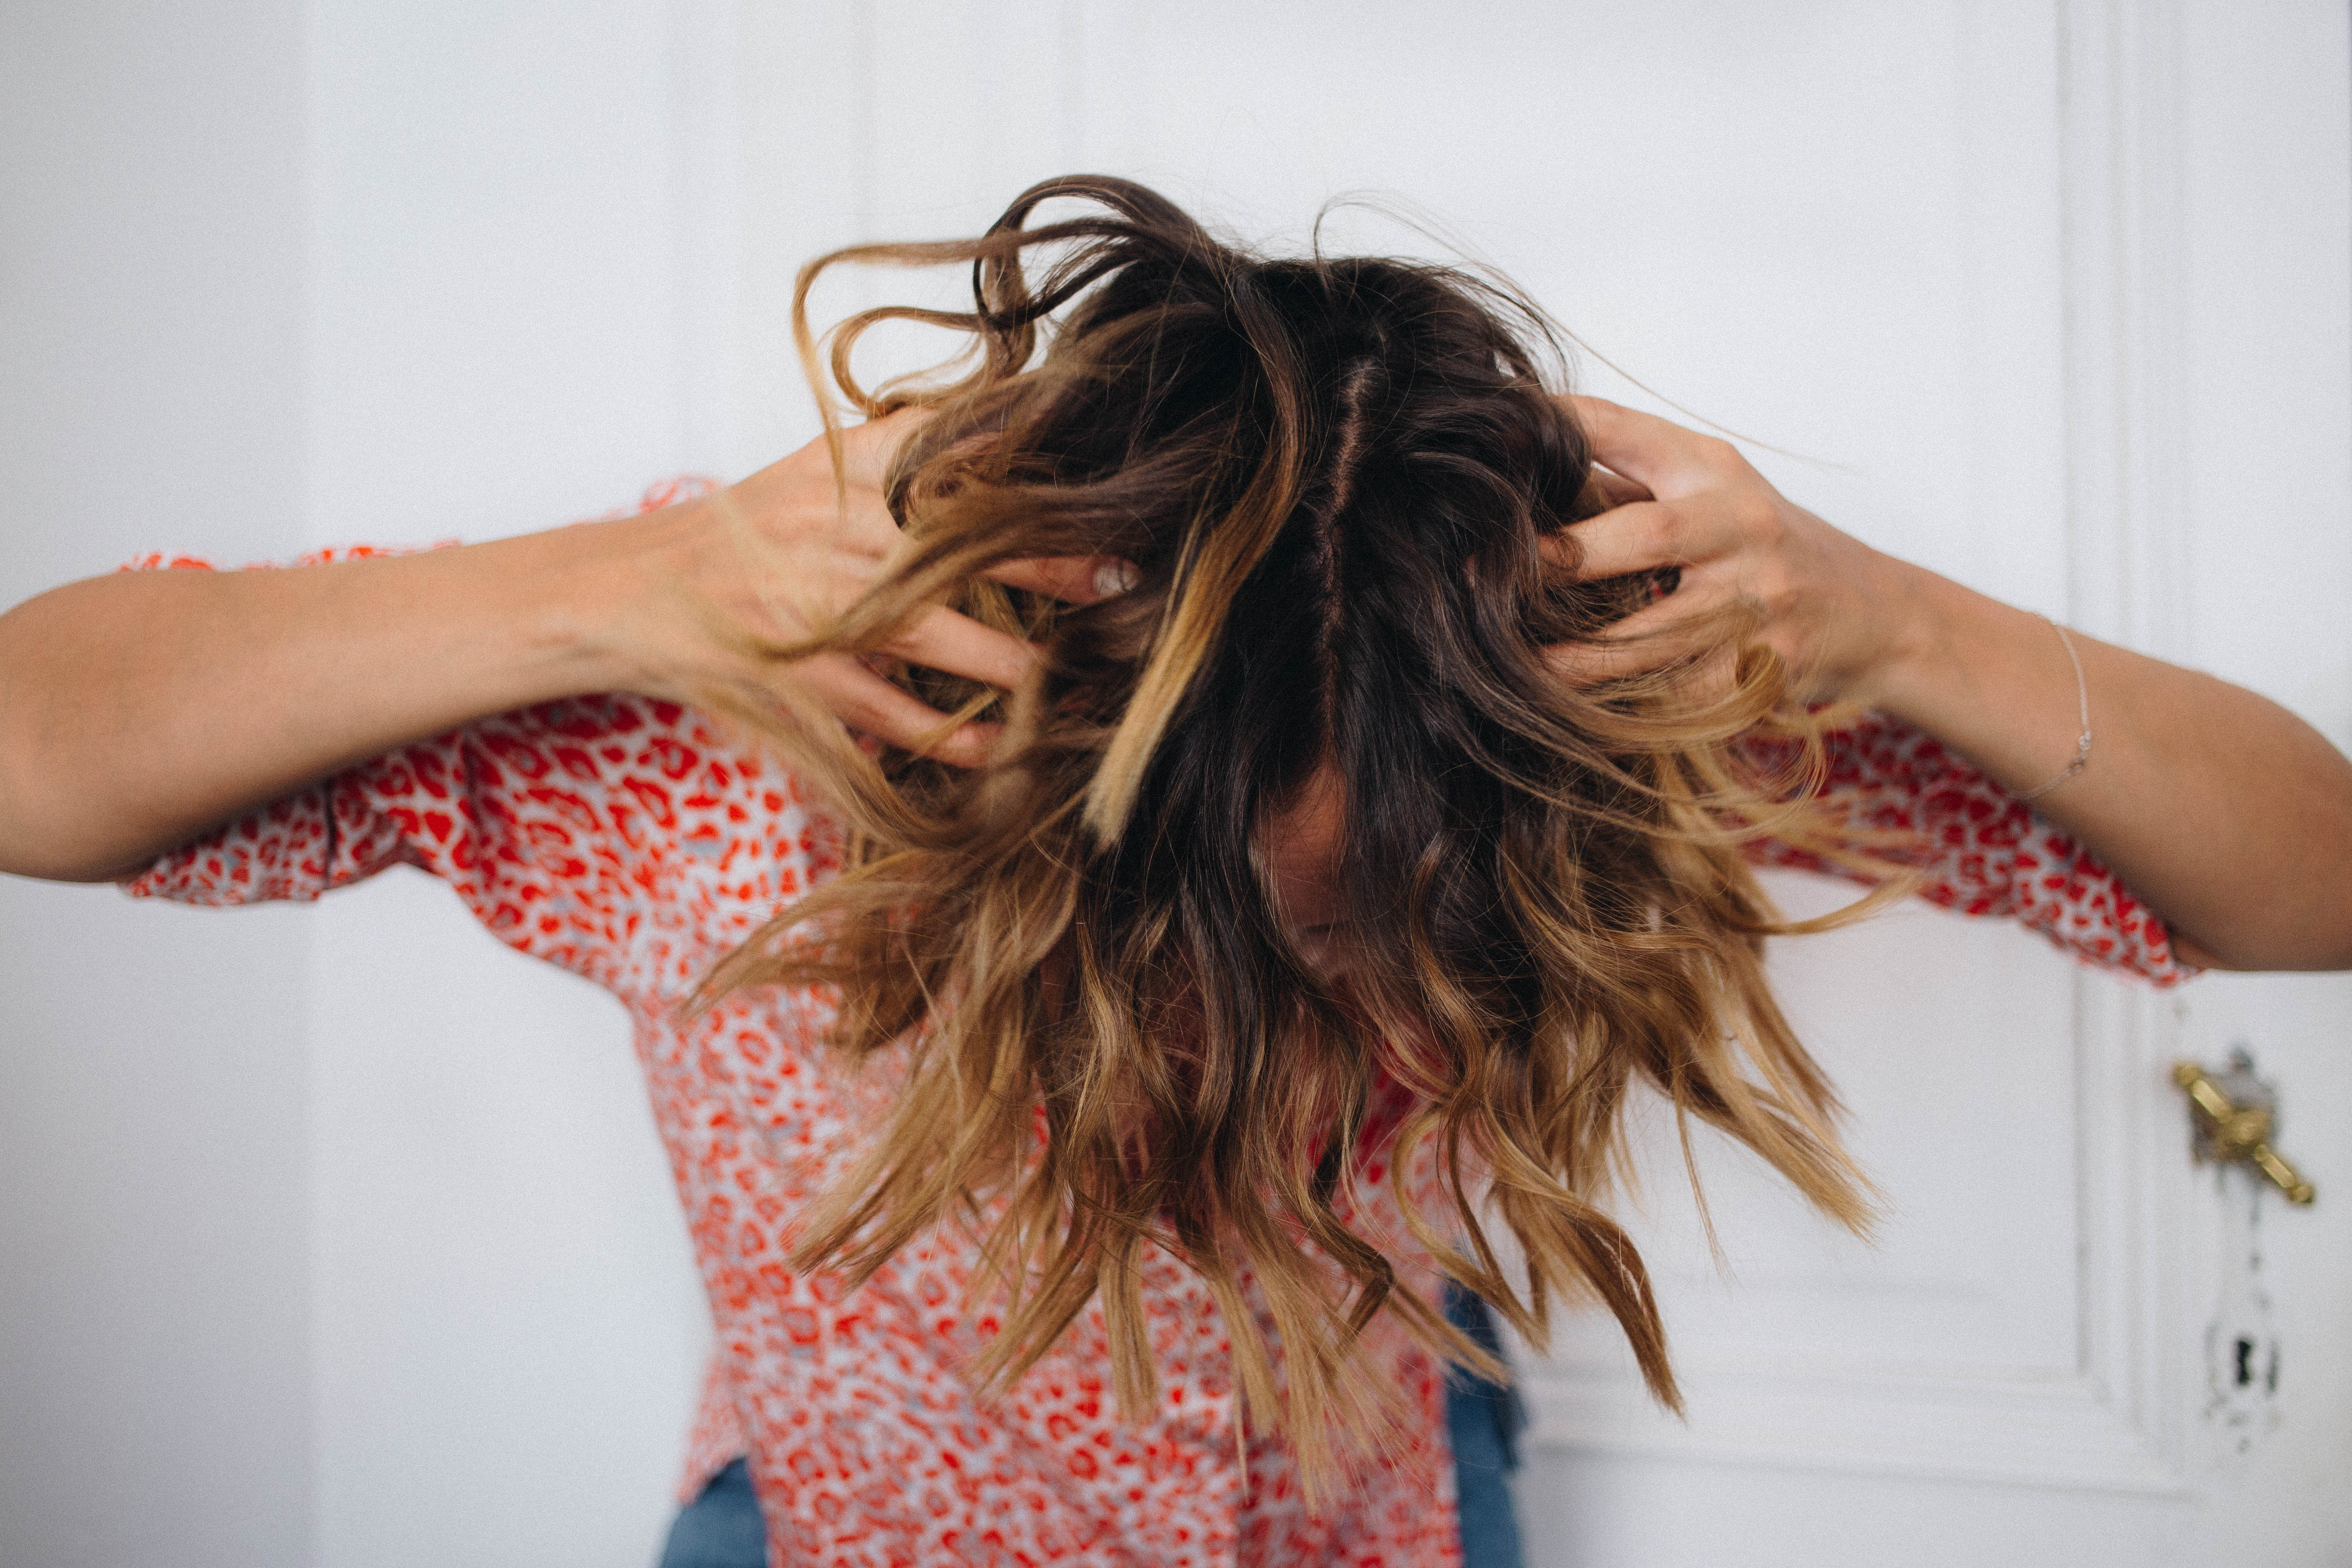
Well this was a highly requested post! Apparently plenty of you girls have a short do as well but find it difficult to style it and add waves & volume. So in today’s article I’m sharing my own wavy hair routine with you guys!
Fun fact: my hair is actually super straight. It’s very fine, pretty heavy and there’s A LOT of it, although you might not notice it at first. But ask every hairdresser that has ever touched my hair on a shoot: it’s a lot to handle!
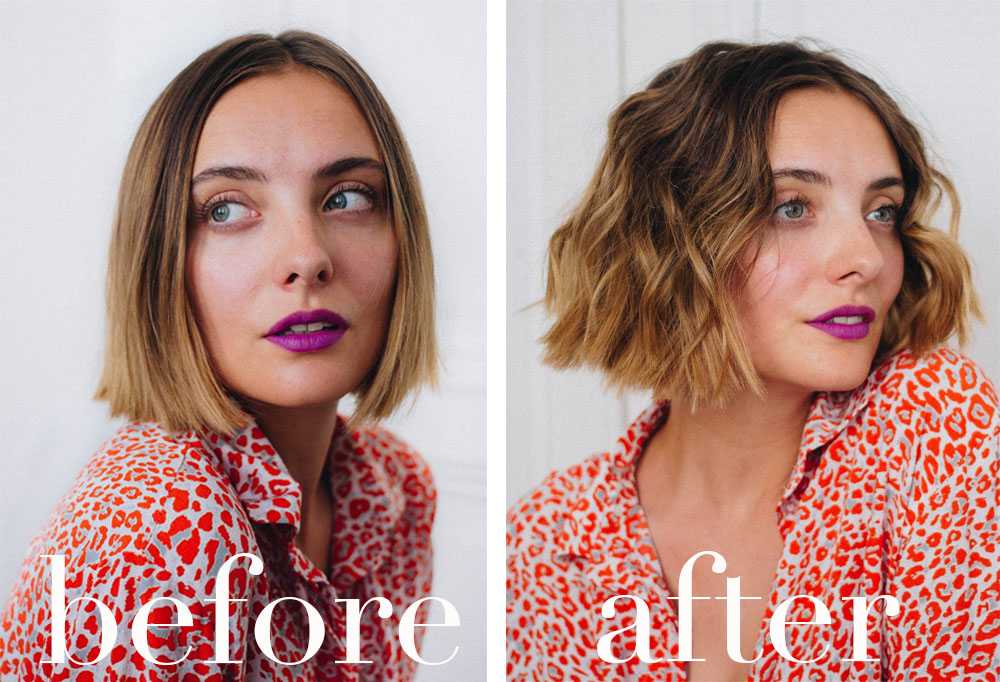
I usually don’t comb it because of the unbelievable straightness, but I did take some pictures of how it looks when completely clean & combed. And a little before/after picture of course, to make sure that you scroll down until the very end of this post 😉


The PRODUCTs
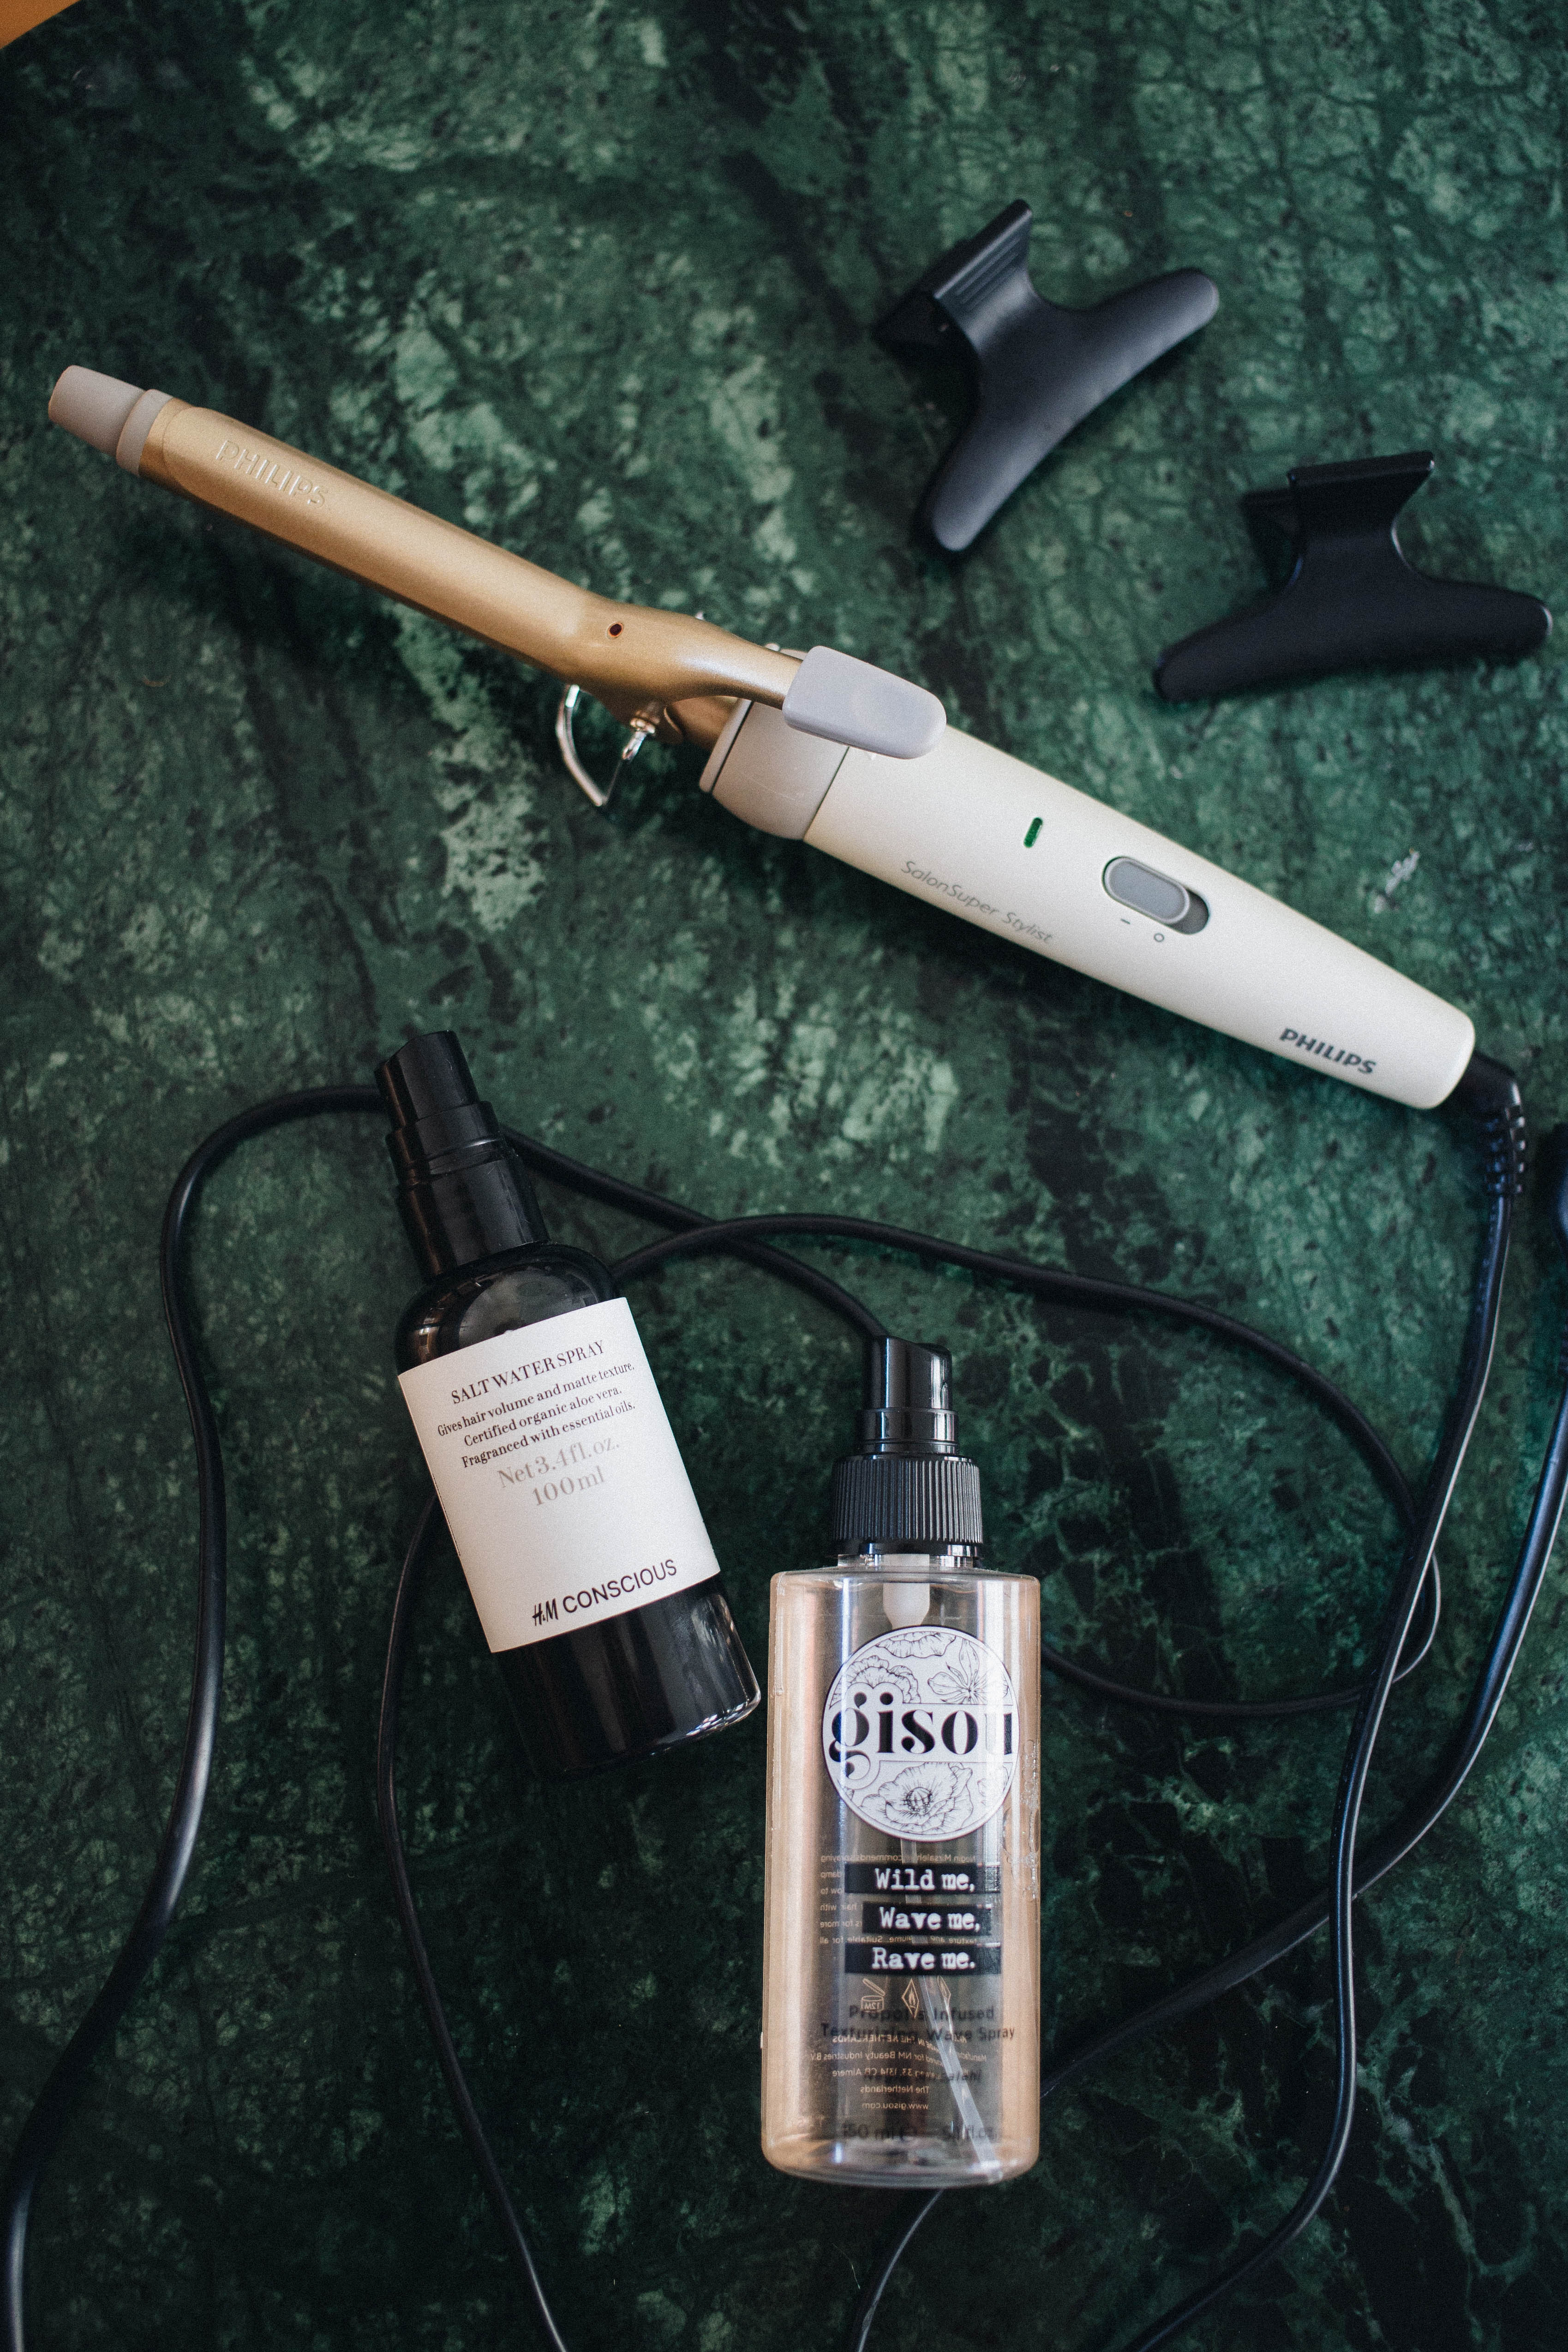
First things first: what products do I use to get started? Freshly washed hair is more difficult to style; that’s why I always add extra products to give my hair a bit more texture, volume and most importantly grip. I usually focus on dry shampoo for the roots and texturizer or seasalt spray for the mids and ends!
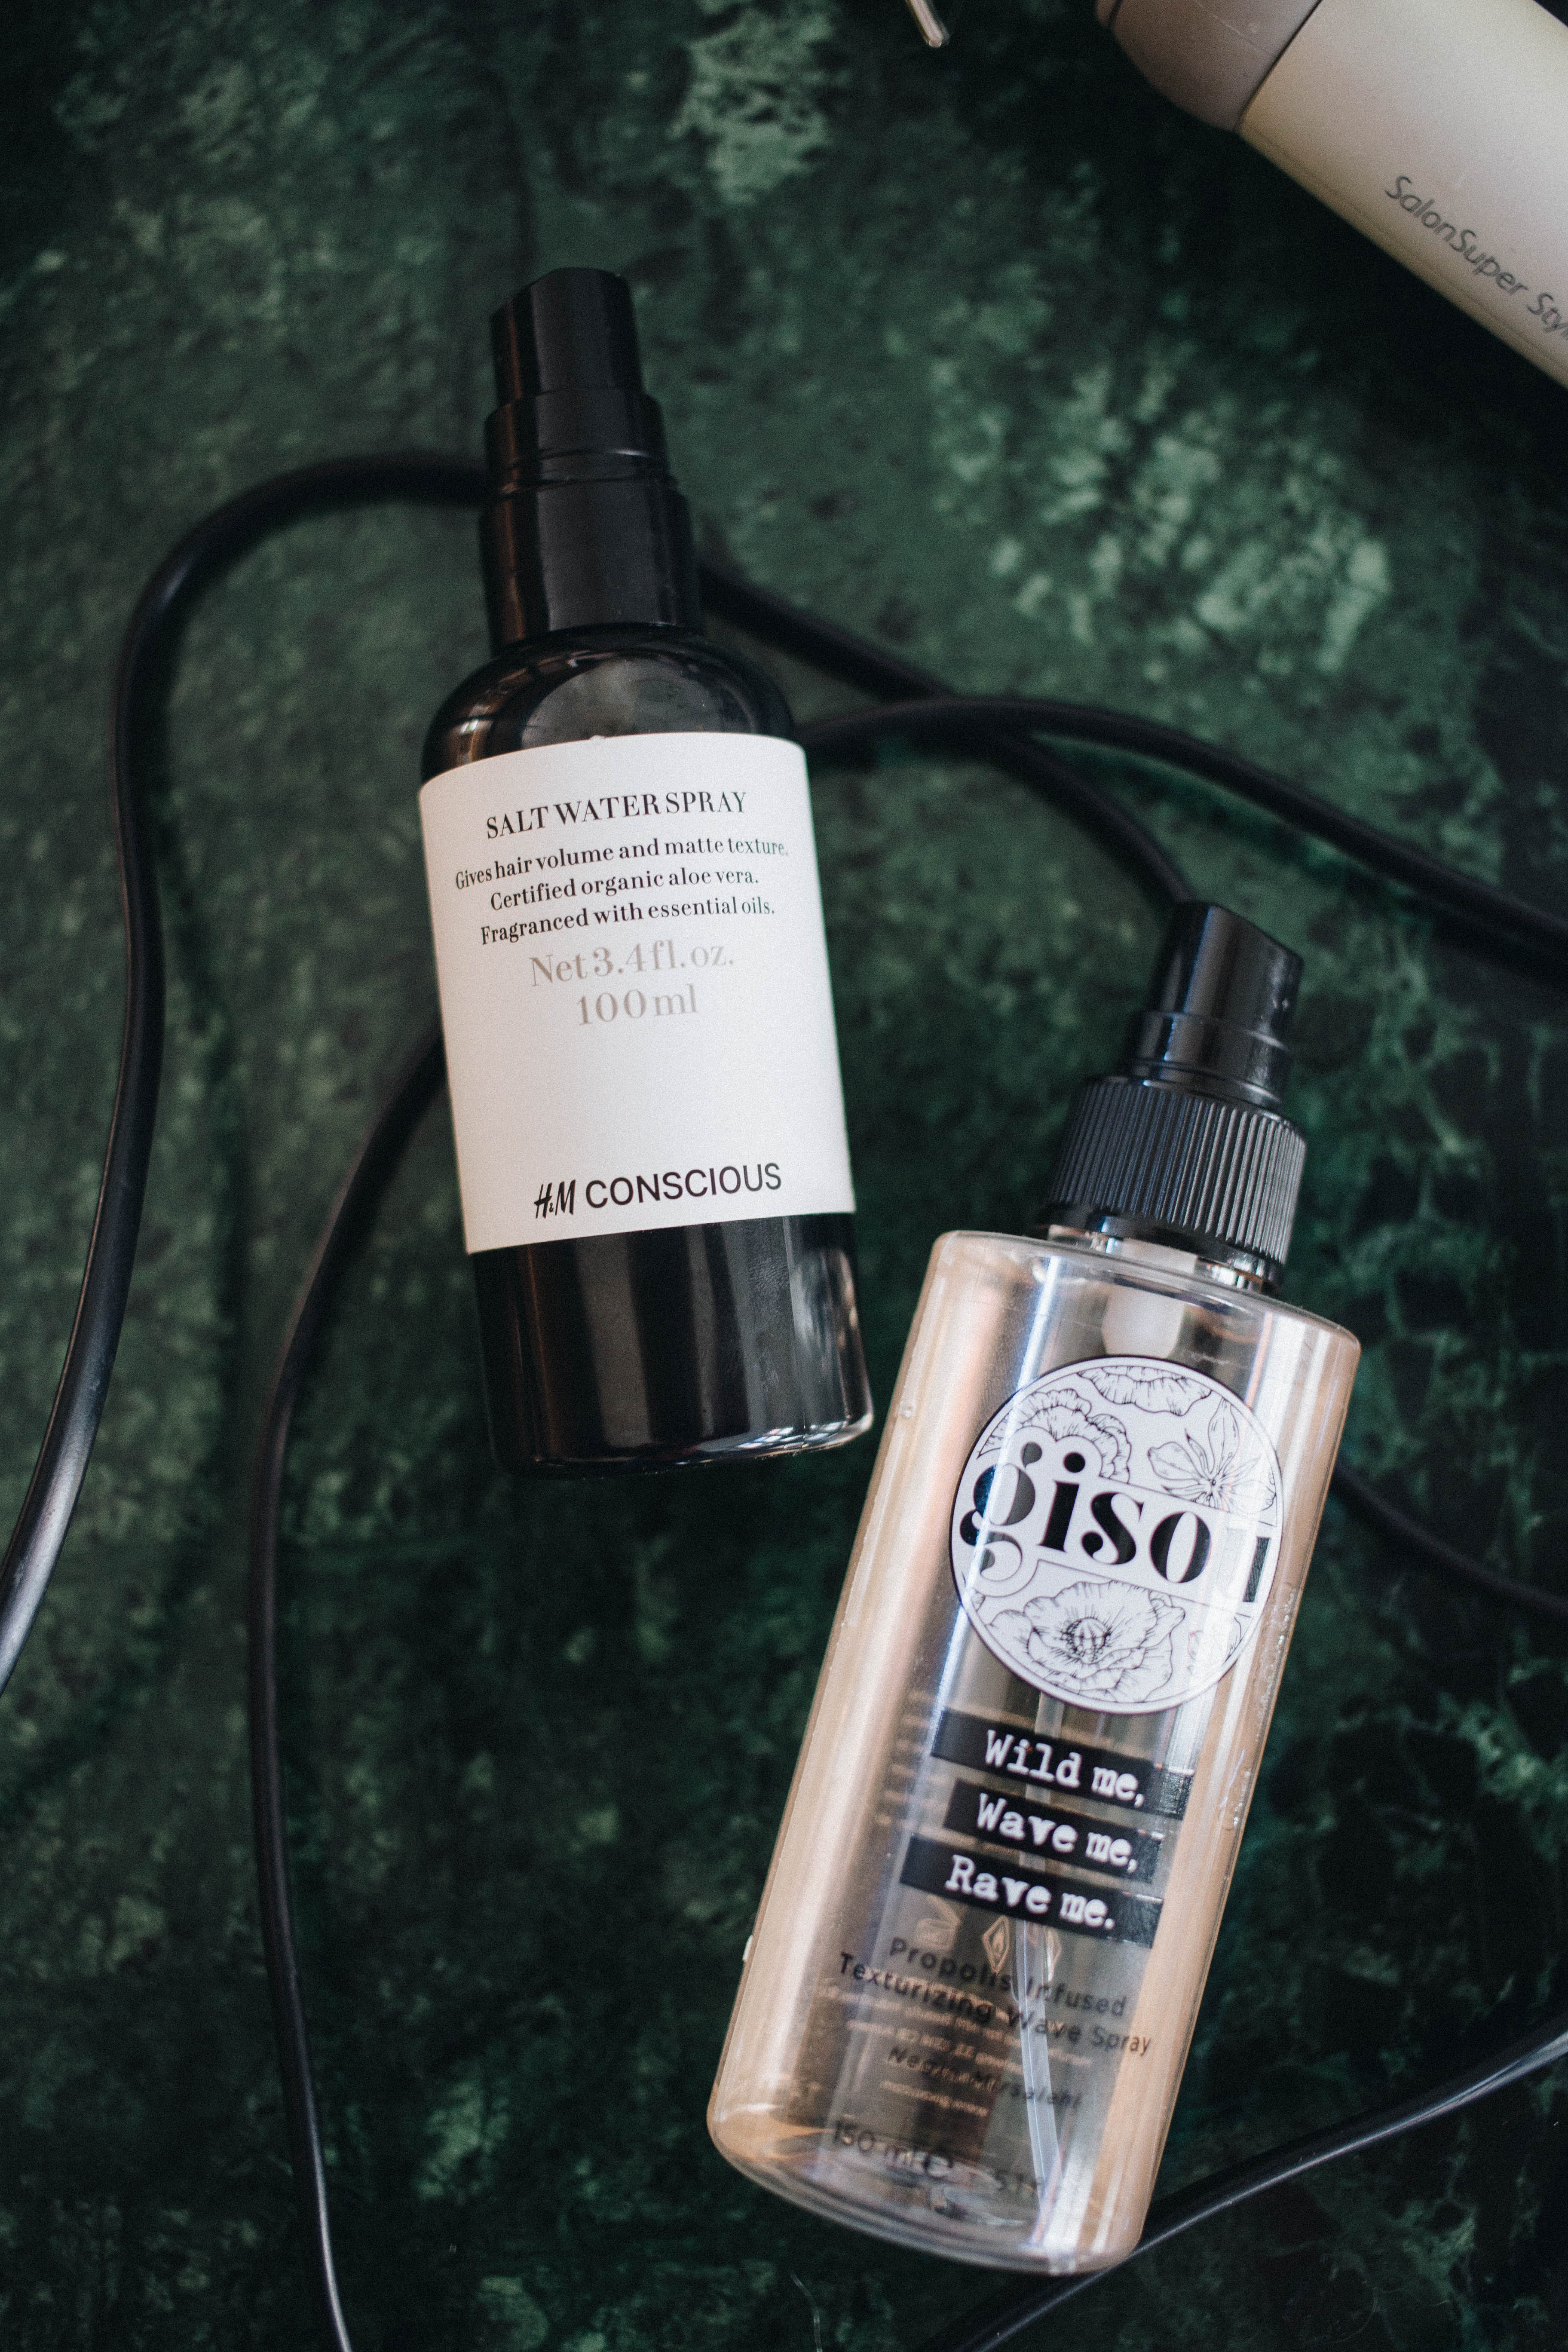
My go-to products of the moment are the Batiste dry shampoos, the Gizou texturizing wave spray and the H&M seasalt spray. I also have some great experiences with Balmain hair products!
Now, a wave of course doesn’t miraculously appear when you spray texturizer on your hair. You’ll inevitably need a curling iron. Mine is pretty old already and is by Philips, but I literally know nothing about these kind of things so I won’t be able to advise you on this. What I do know, is that it’s better to use a THIN curling iron, as thick waves are not always the best option for short hair. The thinner the curl, the messier the wavy do afterwards.
For the curling I use hair clips to separate the locks while working on them, and I do really need a heatproof glove, as I’m so damn clumsy.
The waves
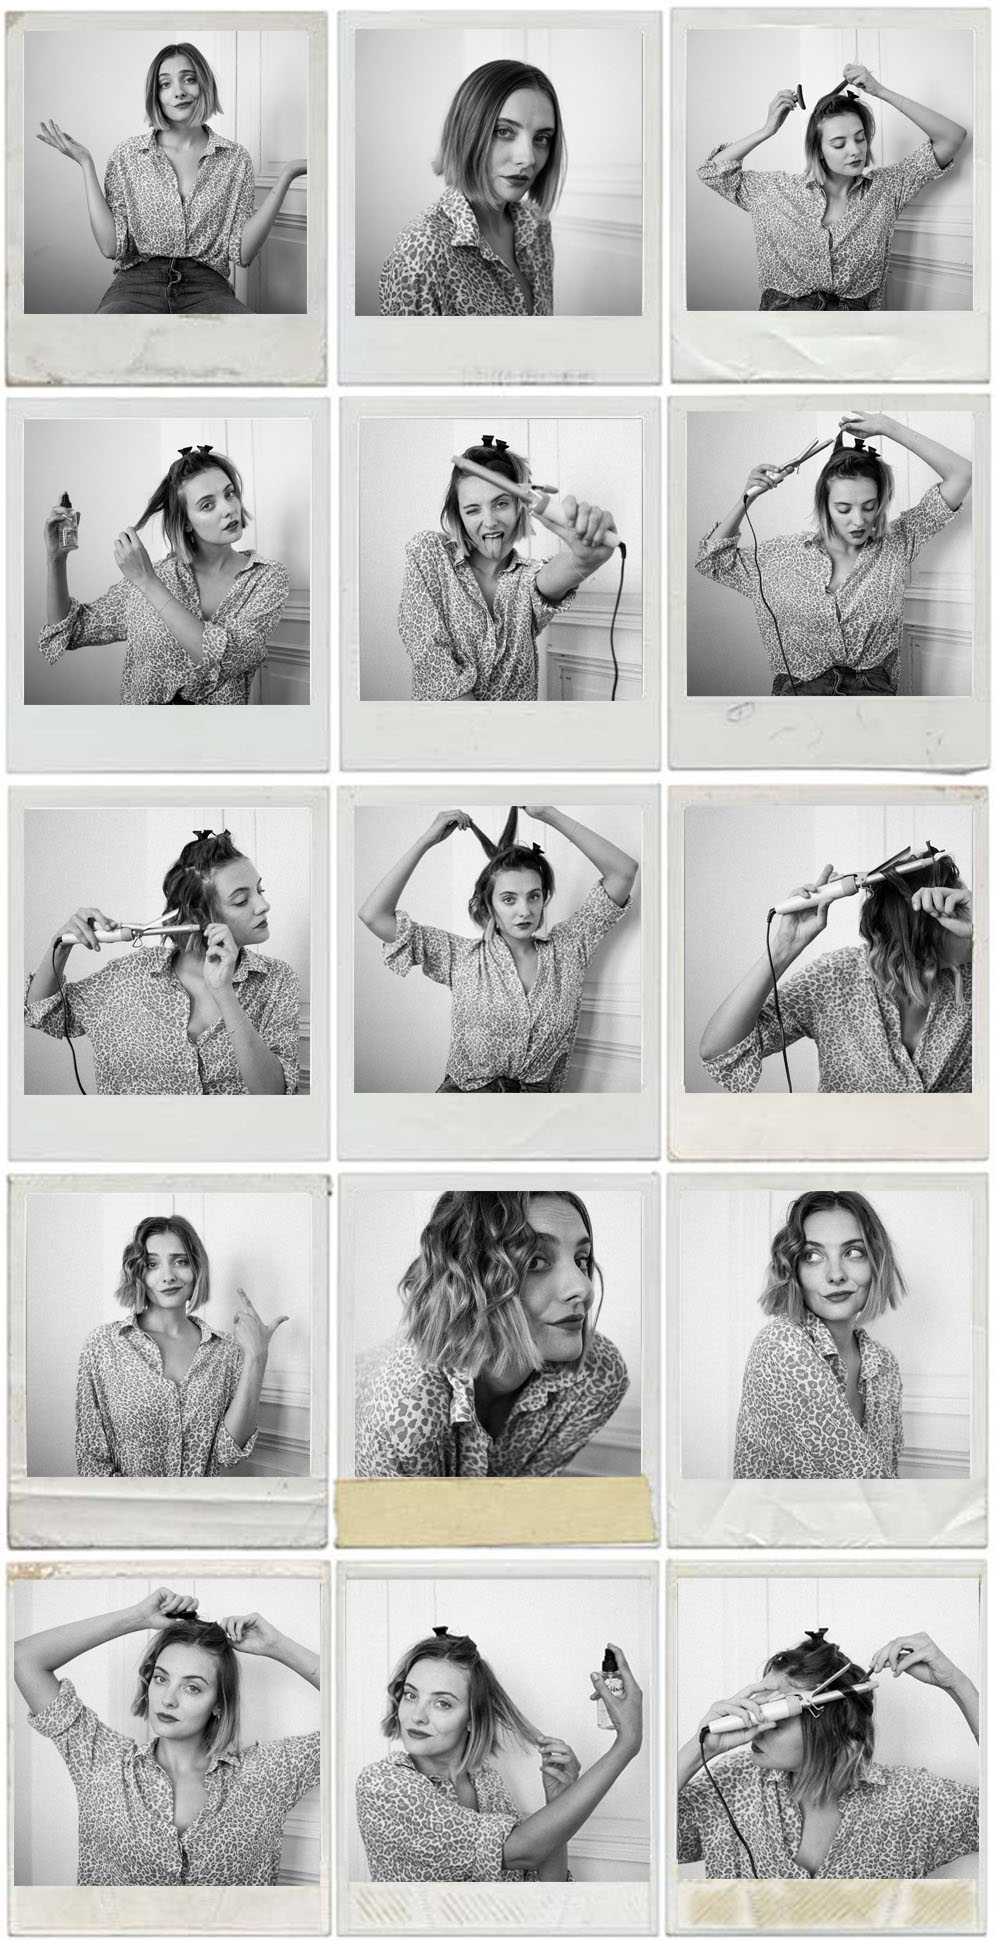
And on to when the magic happens then. Here’s a few steps that I always follow when curling my hair:
- Divide your locks so that you can work well with the part that you want. Start with the bottom part of your hair, but don’t curl them too harshly, otherwise I’ll have too much volume in the end.
- Grab a lock but don’t take too much hair at once — you’ll end up with thick curls instead of messy waves. So be careful in selecting your locks!
- Spray a bit of texturizer/wave spray/… (but not hairspray!) on the lock you want to curl from about 20-30cm away. Just lightly.
- Curl the lock from the roots to the end, but I personally avoid curling the ends. I like to keep those straight to still show the straight cut when finished.
- Let every curl cool down before you touch it again. If you comb through them sooner, the curls will lose their volume pretty quick.
- Alternate your curling direction for extra “mess”. When you use the same curling direction (towards you or away from you) throughout your entire head, the end result might look a bit too perfect.
- When you’re finished with the bottom section of your hair, spray some hairspray on it. Then divide the top section in parts again and start all over again!
- Wait until all of your hair is cold again and then carefully comb through your hair with your fingers. Combing with a brush will give a “cuter” result, it just depends on how you want to look like!
- After you’ve seperated the curls with your fingers and have turned them into waves, add a bit more hairspray or (sea salt) texturizer. “Squeeze” the product into your locks.
- Shine bright like a diamond!
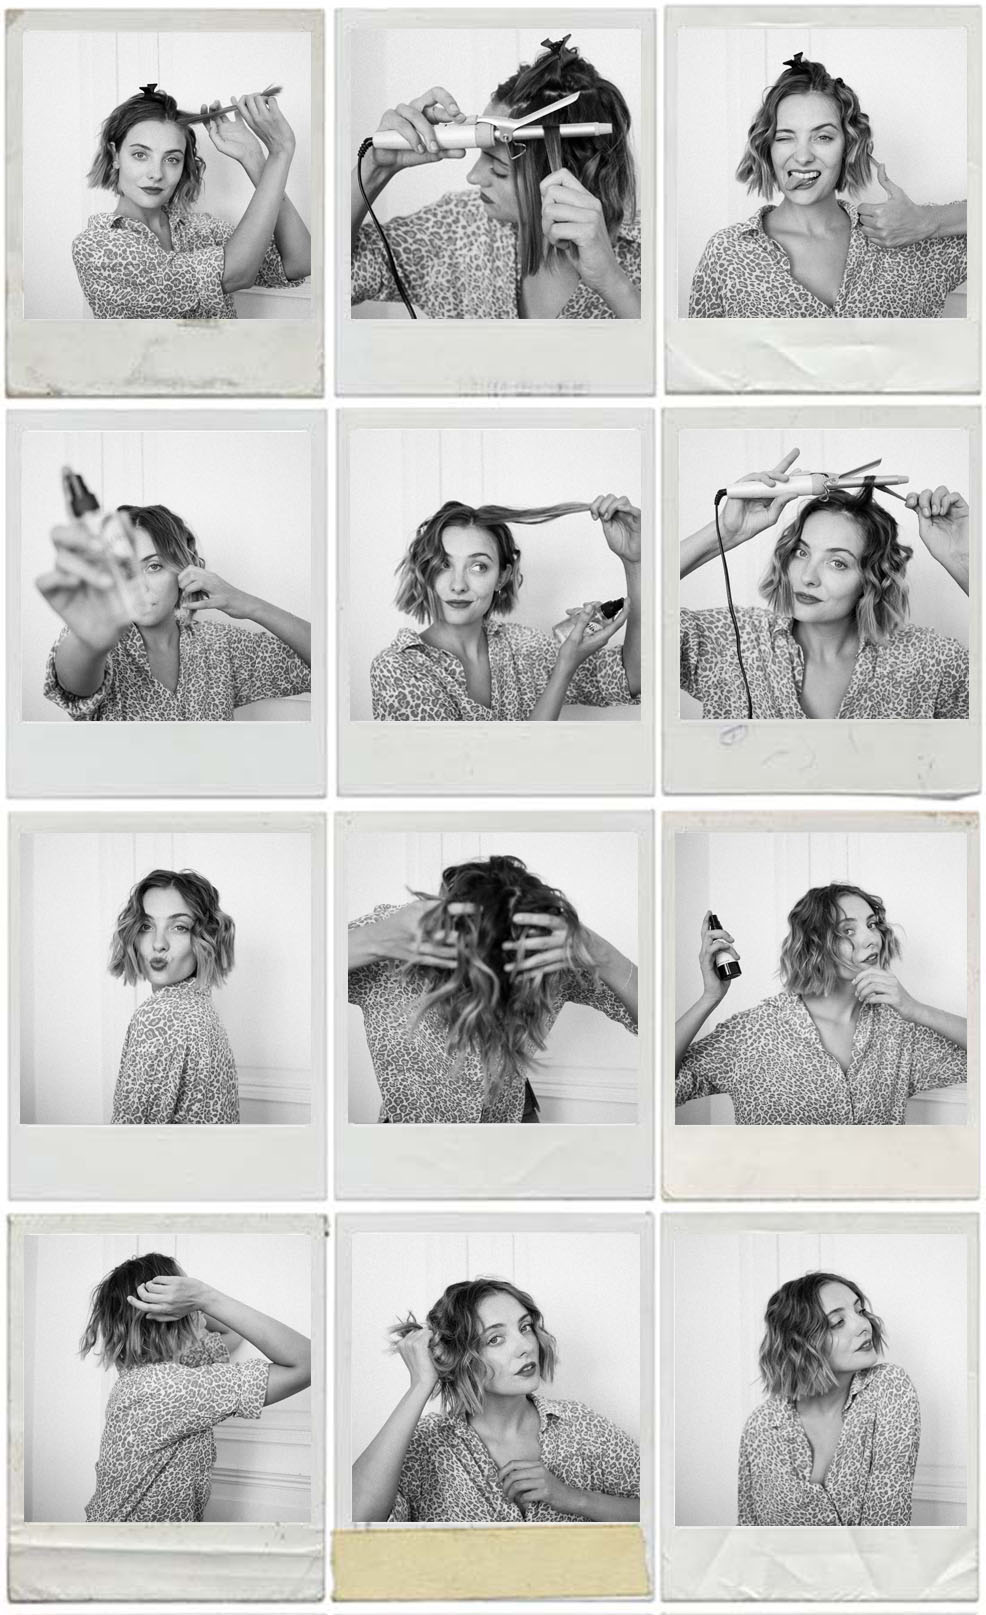
Et voila, that’s how I create my messy wave hairdo! It takes me about half an hour, but the volume usually lasts for a few days. Here’s the end result right after finishing:


Tadah! Are you going to try my little tutorial too? Hope this has been a help for you! Let me know what you think!